

Amazon Aurora MySQL Zero-ETL Integration set up with Amazon RedShift
Introduction
AWS Zero-ETL Integration is a streamlined approach that eliminates the traditional Extract, Transform, Load (ETL) process for replicating data between services. Instead of manually replicating data between different databases or services, Zero-ETL enables seamless, near real-time data sharing and integration without requiring extensive data pipelines.
Amazon work station announced Amazon Aurora zero-ETL integration with Amazon Redshift at AWS re:Invent 2022 and is now available for Aurora MySQL 3.05.0 (compatible with MySQL 8.0.32) and higher versions in multiple regions.
Benefits of Zero-ETL
In the organization’s data strategy, zero-ETL offers many benefits.
Agility
Zero-ETL streamlines data architecture and minimizes the need for extensive data engineering. It enables the addition of new data sources without requiring the reprocessing of large datasets. This flexibility boosts agility, fostering data-driven decision-making and accelerating innovation.
Cost efficiency
Zero-ETL uses cloud native and scalable integration techniques which allows businesses to optimize cost based on their actual usage. It also reduces infrastructure costs, development efforts, and maintenance overheads.
Real time insights
Zero-ETL provides near-real-time data access, ensuring freshed data for analytics, AI/ML, and reporting. It guarantees accurate and timely insights for use cases like real-time dashboards, optimized gaming experience, data quality monitoring, and customer behavior analysis.
In this post, a step-by-step guidance is provided on how to set up zero-ETL between Amazon Aurora and Amazon RedShift.
You need an Amazon Aurora MySQL cluster up and running, if you haven’t set up, please follow our blog for Creating an Amazon Aurora DB Cluster
Configure the Aurora MySQL source with a customized DB cluster parameter group
Once Amazon Aurora MySQL cluster is setup, we need to create a custom parameter group with the following parameters,
On the Amazon RDS console, create a DB cluster parameter group called
zero-etl-database

Zero-ETL integrations require specific values for the Aurora DB cluster parameters that control binary logging (binlog). For example, enhanced binlog mode must be turned on
(aurora_enhanced_binlog=1).
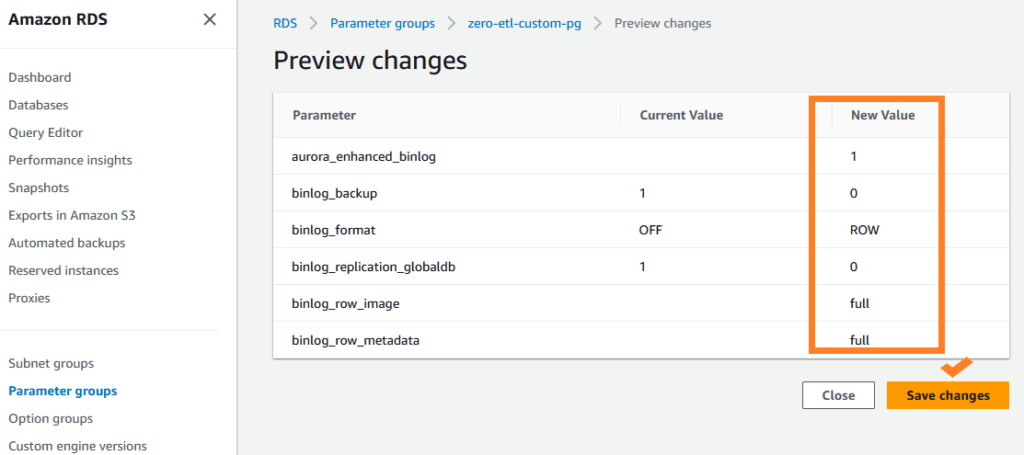
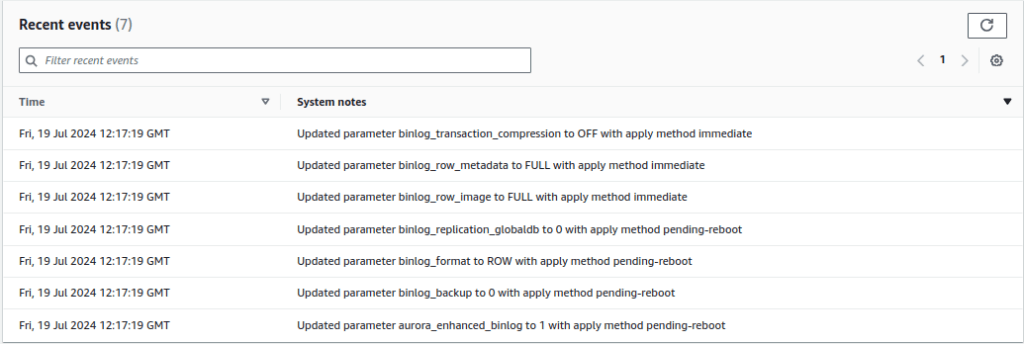
2. Set the following binlog cluster parameter settings:
1. binlog_backup=02. binlog_replication_globaldb=03. binlog_format=ROW4. aurora_enhanced_binlog=15. binlog_row_metadata=FULL6. binlog_row_image=FULL
In addition, make sure that the binlog_transaction_compression parameter is not set to ON, and that the binlog_row_value_options parameter is not set to PARTIAL_JSON. By default, these parameters are not set.
3. Select Save changes.
Configure AWS RedShift destination with enabling case sensitive identifiers
We have set up the source DB cluster, now we need to configure Amazon RedShift as target data warehouse with the following requirements;
- 1Must be an RA3 node type (ra3.16xlarge, ra3.4xlarge, or ra3.xlplus), or RedShift Serverless
- 2Must be Encrypted, only in case of provisioned cluster
For our use case, we will be creating a Redshift Serverless data warehouse;
- 1On the Amazon Redshift console, choose Serverless dashboard in the navigation pane.
- 2Choose Create workgroup.
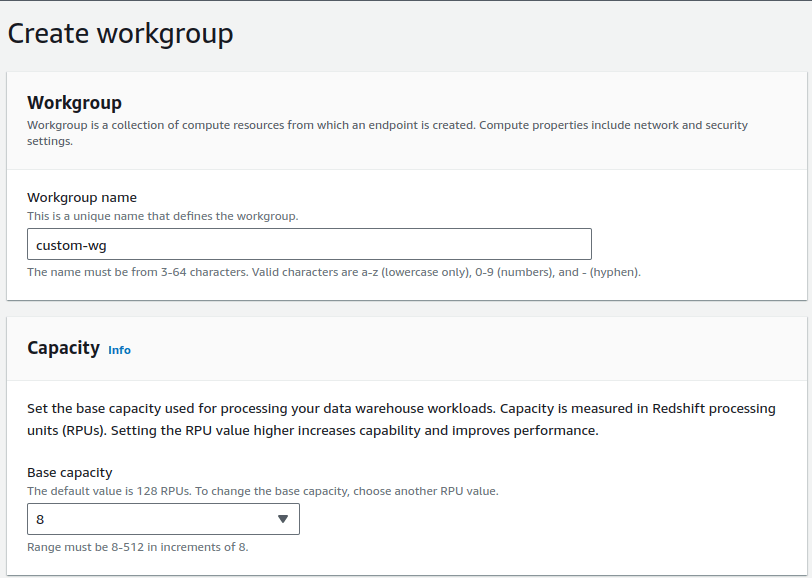
The following screenshot shows the default settings for Amazon Redshift Serverless.
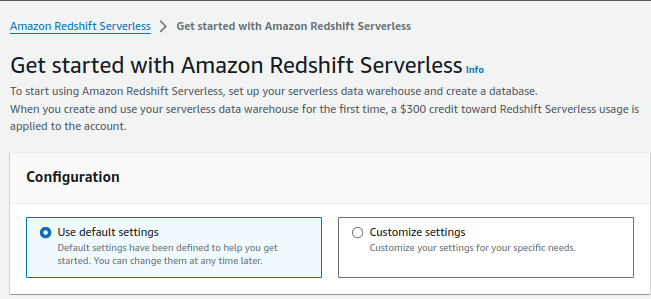

3. For Workgroup name, enter custom-wg. Choose base RPU capacity in 8 to 512 range available in increments of 8.
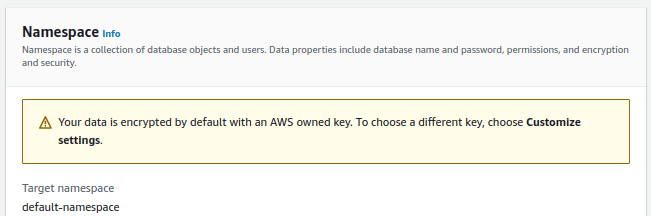
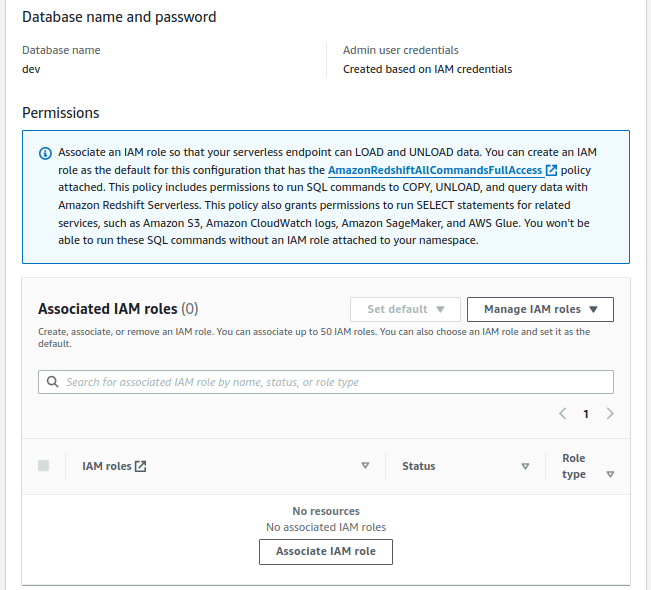
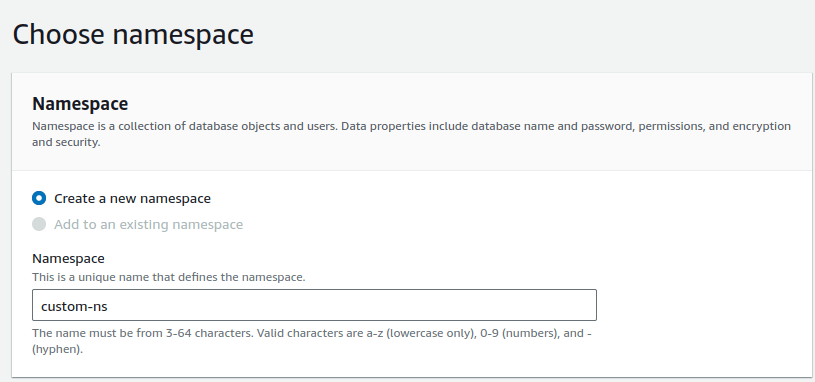
4. For Namespace, select Create a new namespace and enter custom-ns, also provide database name, Admin username, and password of your own choice.
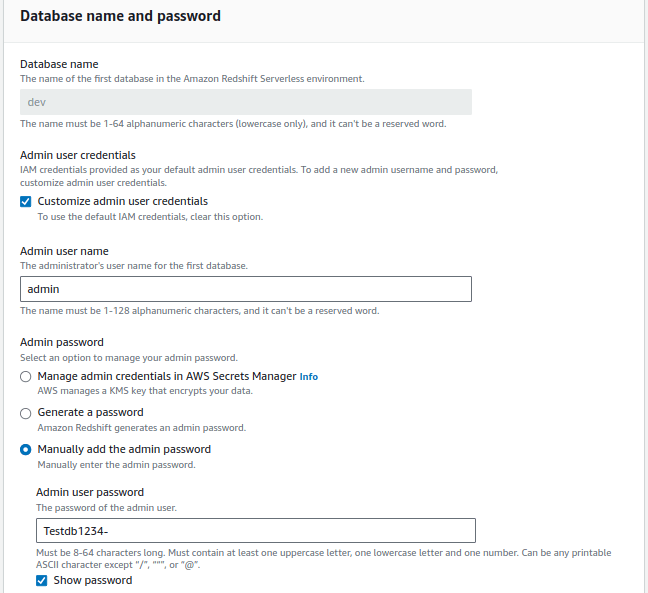
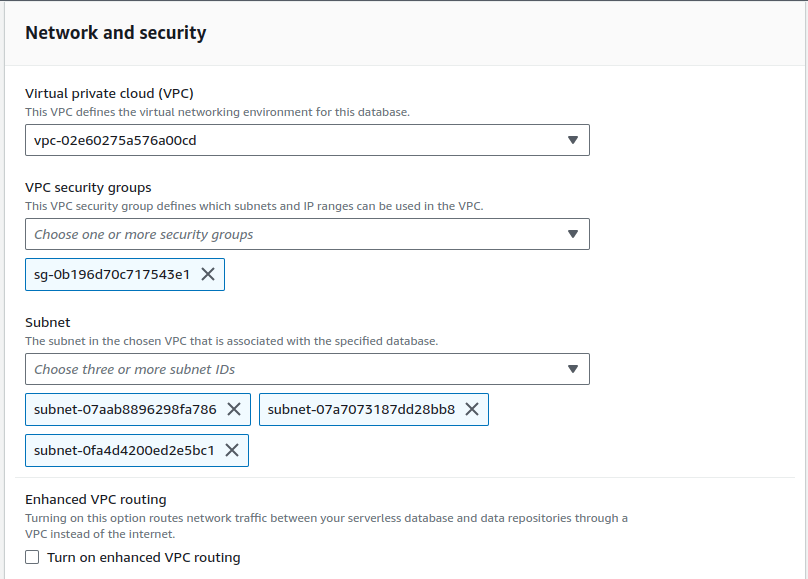
Keep all the rest as the default.
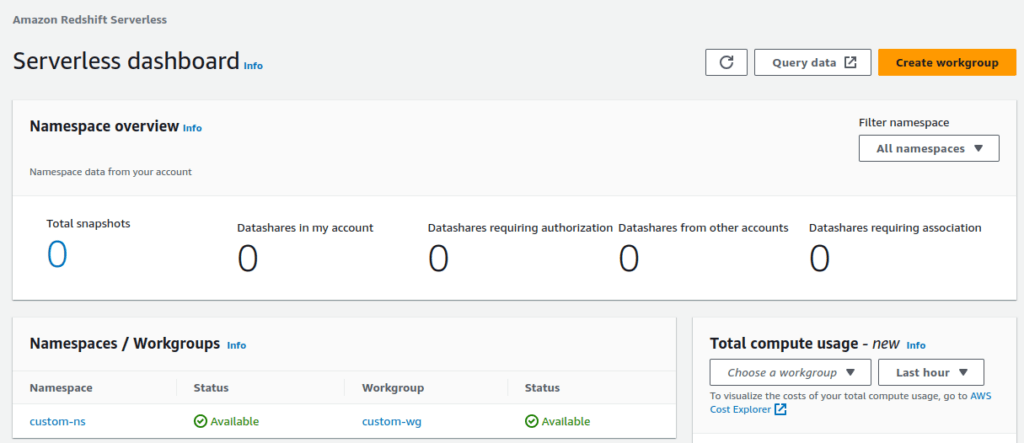
After setup completes, choose Continue to go to your Serverless dashboard. You can see that the serverless workgroup and namespace are available.
Create zero-ETL integration
To create the zero-ETL integration, complete the following steps:
1. On the Amazon RDS console, In the navigation pane choose Zero-ETL integrations and then on the Zero-ETL integration page, choose Create zero-ETL integration


2. For Integration identifier, enter a name, for example zero-etl-integration-rds.

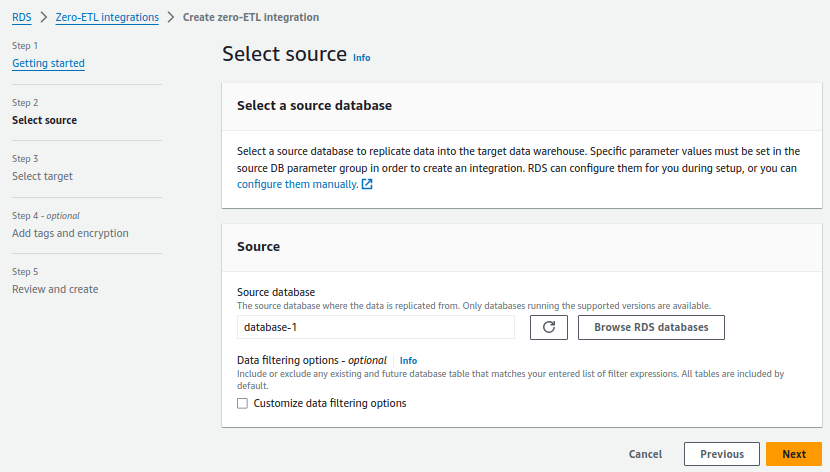
3. For Source database, choose Browse RDS databases and choose the source cluster, in our case the cluster name is database-1 and choose Next.
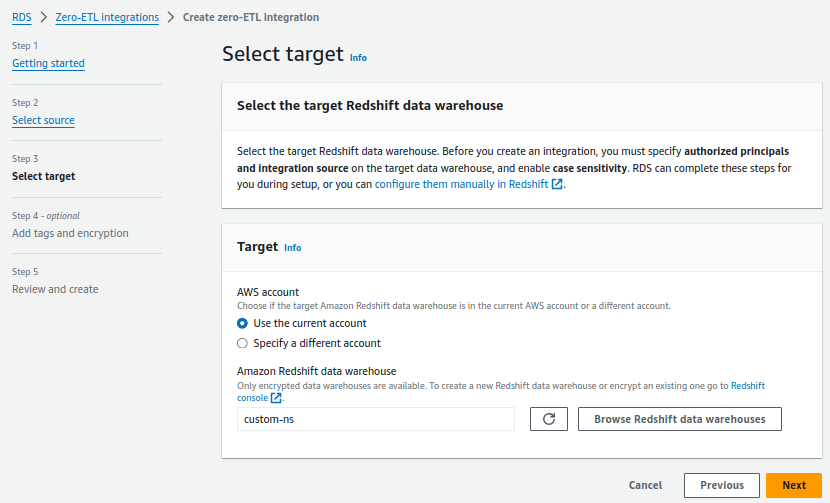
4. Under Target, for Amazon Redshift data warehouse, choose Browse Redshift data warehouses and choose the Redshift Serverless destination namespace (custom-ns).
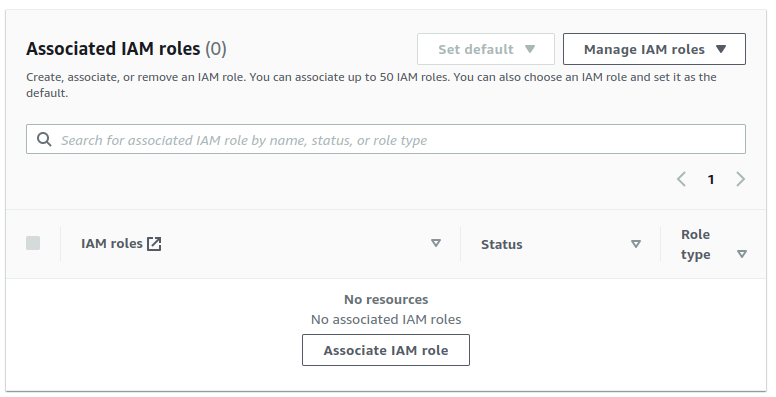
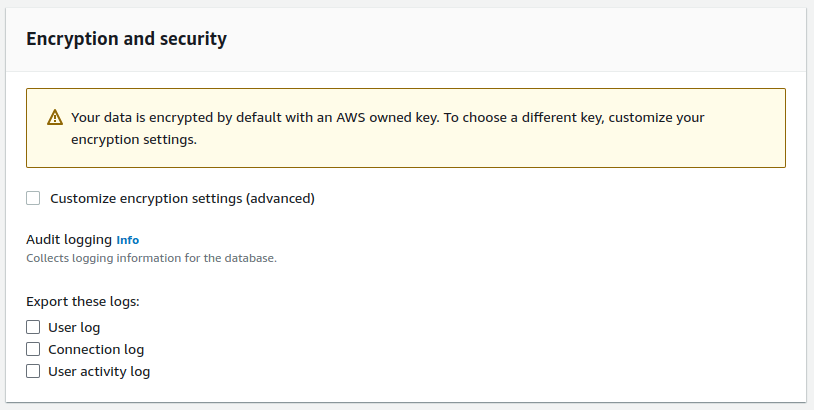
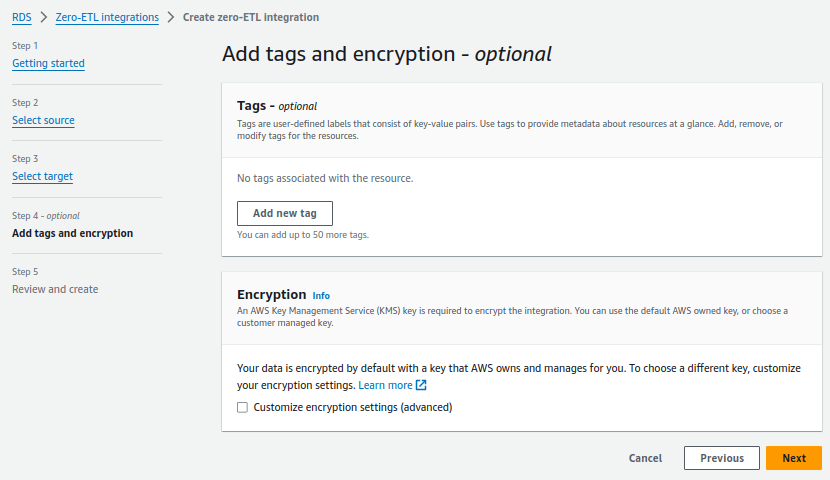
Add tags and encryption is an optional.
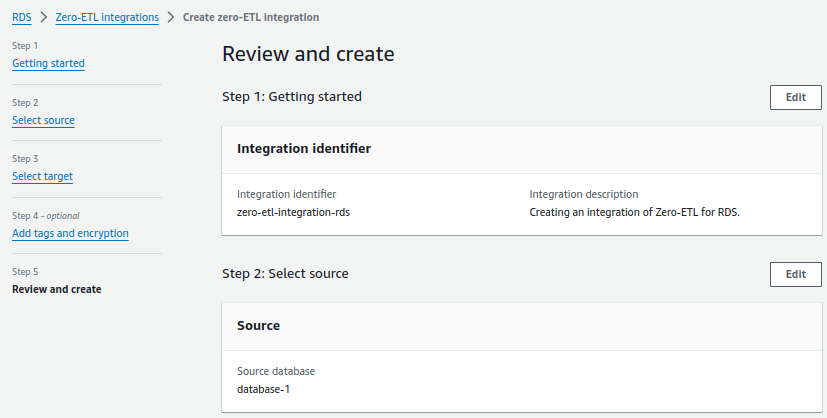
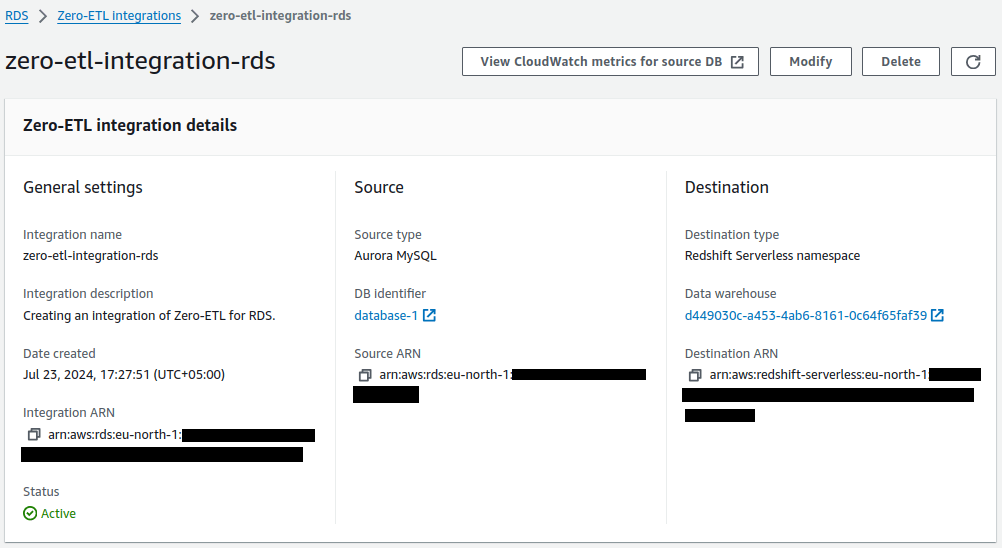
5. On the Review and create page, verify the integration name, source, target and other settings. When confirmed, choose Create zero-ETL integration.

Choose the integration to view the details and monitor its progress. It takes a few minutes to change the status from Creating to Active depending on the size of the dataset already available in the source.
Create a database from the integration in Amazon Redshift
To create your database, follow the steps:
1. On the Redshift Serverless dashboard, navigate to the custom-ns namespace.
2. Choose Query data and click on Query Editor v2 to open the query editor.
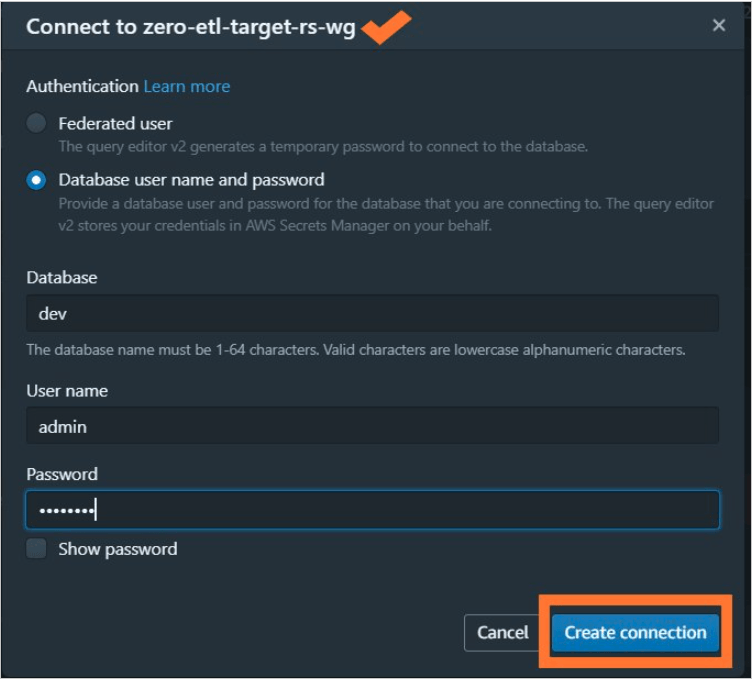
3. Connect to the Redshift Serverless data warehouse by choosing Create connection.
4. Run the following query to obtain the integration_id from the svv_integration system table:
$ select integration_id from svv_integration;
5. Use the integration_id from the previous step to create a new database from the integration:
$ CREATE DATABASE database-1-rs FROM INTEGRATION '';
The integration is now complete, and an entire snapshot of the source will reflect as is in the destination. Ongoing changes will also be synced in near-real time.
Blogs
Discover the latest insights and trends in technology with the Omax Tech Blog. Stay updated with expert articles, industry news, and innovative ideas.
View Blogs


